
Engineering • Quality Assurance
Quality Is What Happens
Before the Box Is Sealed.
No promised percentages here — here is how the process actually works: components checked incoming, checkpoints through the cells, and a dedicated burn-in line where every unit is powered up and print-tested before packing.
Quality by the Numbers
The Metrics That Matter to Distributors
Component-level checks use sampling — you cannot inspect every resistor — but the finished printer is a different question. A printer that leaves its burn-in bench failed is the cheapest moment it will ever cost anyone to know.
So the policy is simple: every unit is power-tested and print-tested before packing. Each printer powers on, runs its calibration, and produces the standardized test print on the aging line. No sampling at this stage — the defect is caught on the bench, not in the field.
The QC sequence: incoming checks through in-process checkpoints to final audit
The Inspection Sequence
What Happens Before a Printer Ships
IQC — Incoming Quality Control
Every component batch is sampled and measured on receipt: rail straightness, motor torque behavior, belt elasticity, board power behavior, and solder quality on the PCBA test station. Consistent supplier problems show up in the incoming records and trigger requalification of the supply route — quiet parts with bad batches do not stay quiet.
Sub-Assembly Inspection
Each sub-assembly is checked before integration: hotend temperature ramp and stability, bed surface flatness, gantry squareness, and extruder calibration. The checks use the cell fixtures and reference values for that sub-assembly — this is where a bad sub-part is stopped from entering a unit.
Cell-Level QC
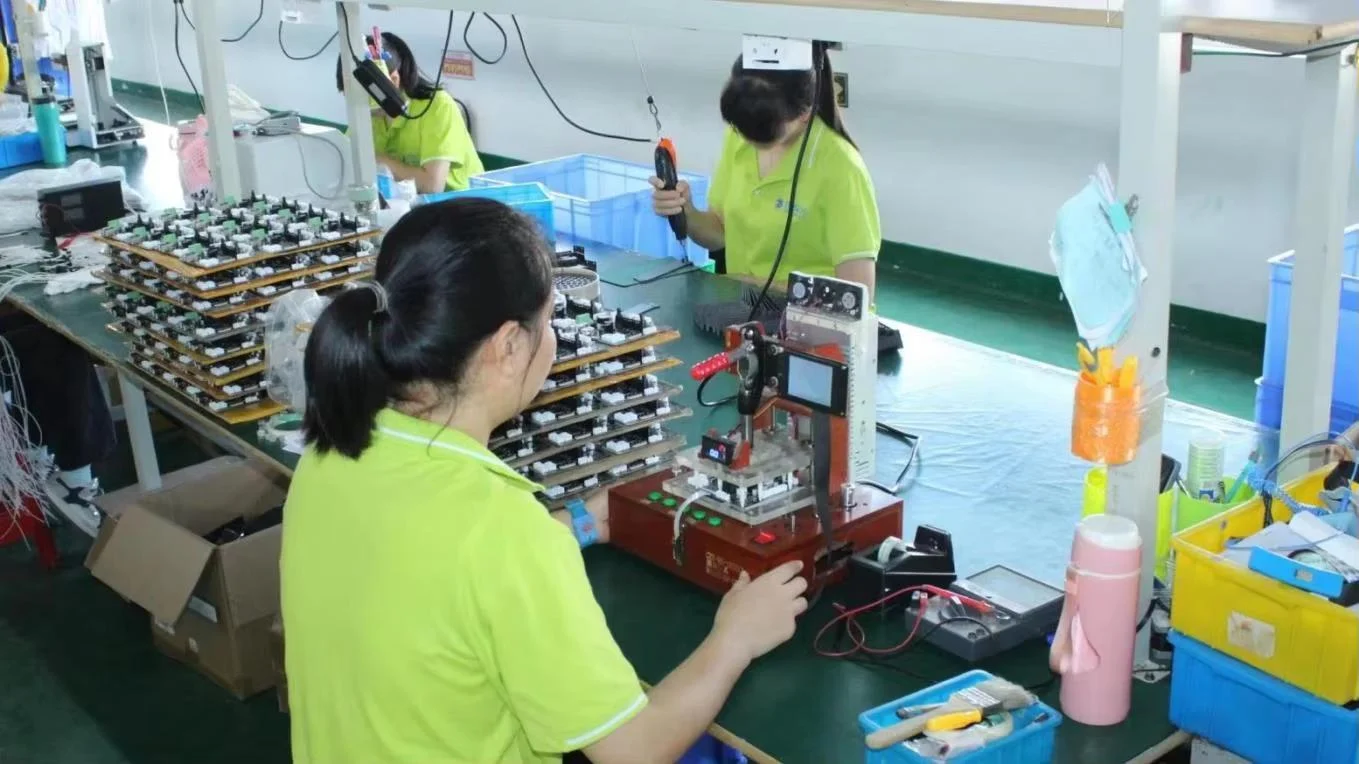
Inspection at every assembly station: belt tension set with the cell fixture, screw torque verified with calibrated drivers, and wiring harness continuity tested before the harness enters the frame. Each station signs off before the unit advances — no sign-off, no movement.
First Power-On and Firmware Load
Full system initialization: motors homed, fans verified, touchscreen exercised, connectivity validated. Firmware is loaded to the production-matched release at this point, so the unit that ships is the configuration that was tested — not the one that happened to be on the bench.
Burn-In & Test Print
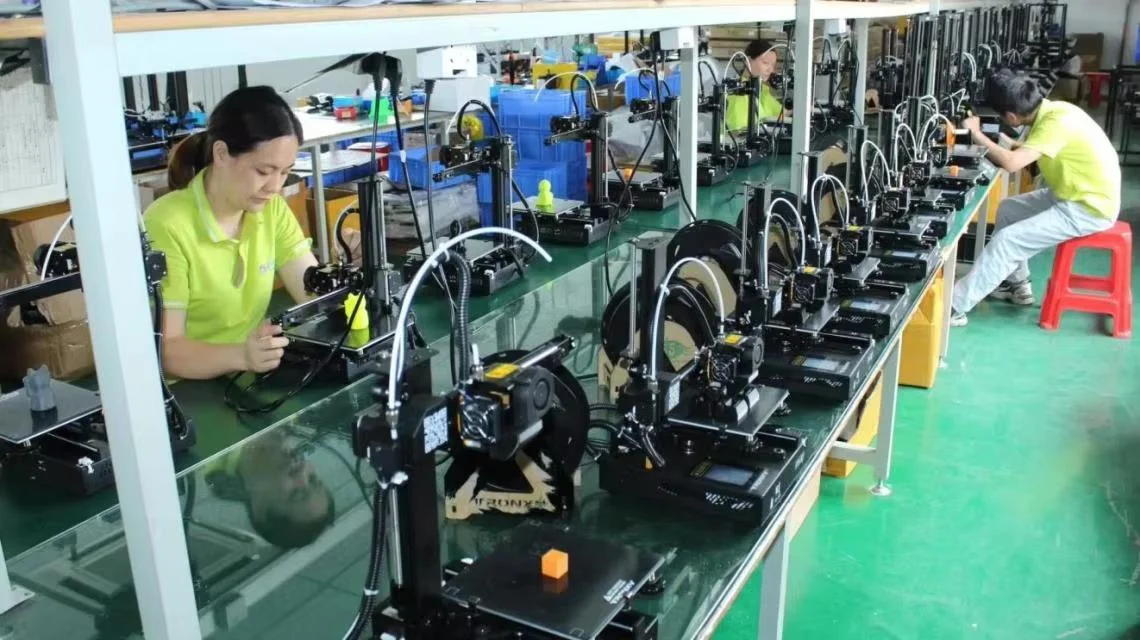
On the dedicated aging-and-testing line, every unit is powered continuously and run through the standardized benchmark print before it is released to packing — a soak that highlights heat, extrusion, and motion faults that a quick power-on would miss. The result goes into the unit record; a copy of the print sample rides in the carton.
Cosmetic and Packaging Inspection
Visual inspection under bright neutral lighting: enclosure surface defects, panel fit and gaps, label placement, and accessory kit completeness. Packaging gets the same treatment: foam insert fit, box seal integrity, and serial number label verification against the unit record.
FQC — Final Outgoing QC (Audit)
Final audit of the record against the batch before release: unit records reconciled against the production log, carton contents checked per unit, packaging integrity verified, and a certificate of conformance issued with batch traceability. If something in the record does not match, the batch is held until it is explained.
Metrology and Testing Equipment
The Instruments That Verify Precision
Measurement and calibration: every tolerance has a corresponding verification instrument
| Measurement | Instrument / Method | What Is Verified |
|---|---|---|
| Dimensional Accuracy | Measurement gauges on the test bench | Print-test parts verified against the reference set |
| Bed Flatness | Dial indicator and inspection plate | Bed leveling setup at calibration |
| Belt Tension | Tension fixture with acoustic verification | Tension at assembly and after soak |
| Hotend Temperature | Bench thermocouple and machine sensors | Ramp and stability behavior |
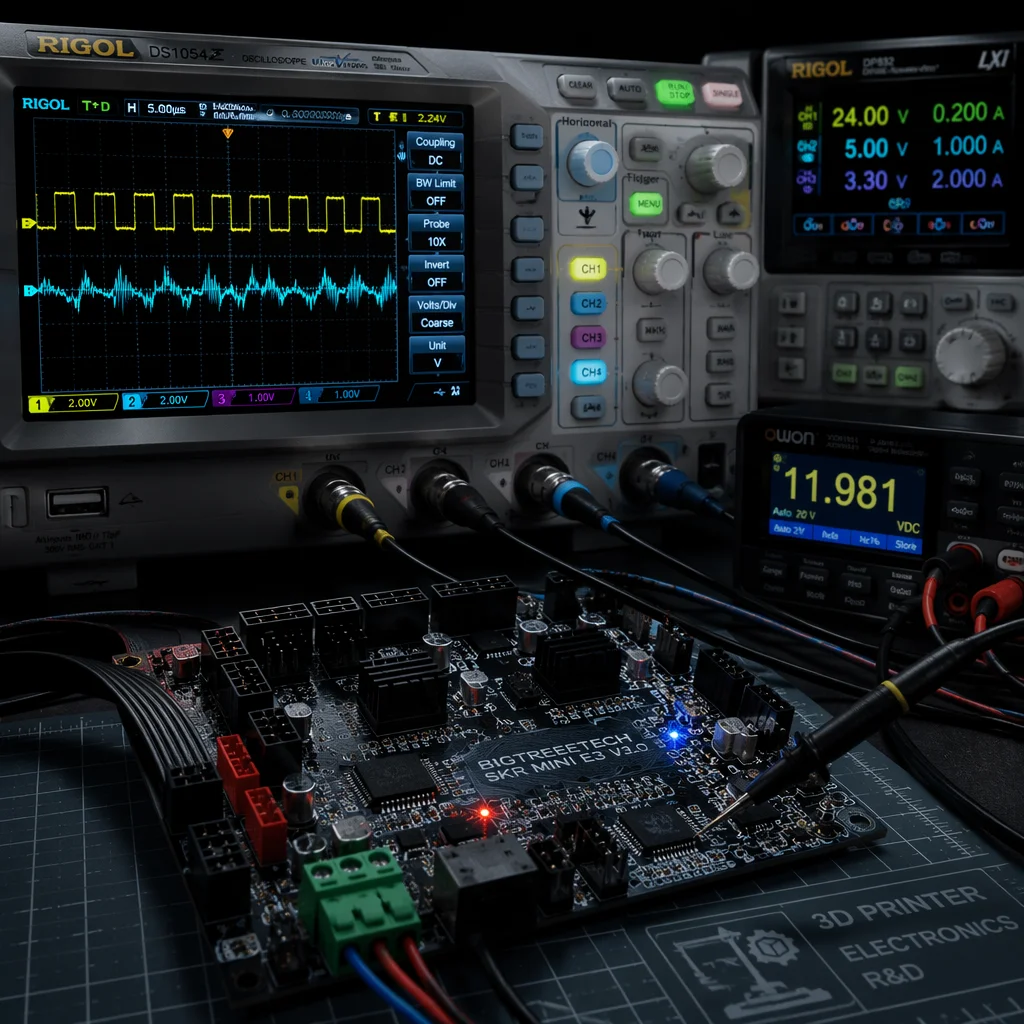
| Power Supply | Bench multimeter, powered test station | Output under load, noise on the line |
| Noise Level | Sound level check | Machine profile at normal operation |
| Chamber Temperature | Multi-point thermocouple during soak | Uniformity inside the enclosure |
Trend Review
Records Feed Improvements, Not Just Passes
Every inspection point generates records. Trends in those records — a tolerance drifting, a station flagging more often — are what the floor uses to fix process issues before they become batch problems.
Tracking the Critical Parameters
Belt tension, bed leveling behavior, test-print accuracy, and power-supply output are tracked as production runs. Each has a defined acceptable range from the reference set of the model, and the accumulated records are reviewed over the run.
When a parameter starts drifting toward the edge of its range — inside spec still — the cell lead gets an alert and the cause is addressed before it produces a nonconforming unit.
What the Records Feed
Process adjustments come from the measurement records, not from opinion: parameter ranges are defined against the reference unit for each model, and deviations are investigated at the cell where they show up.
Summaries of the records for your order are available on request — the same numbers that run the floor are the ones we show you.
Sampling Methodology
Incoming Material Sampling
Sampled checks per documented plan, with full-batch inspection on critical parts (rails, motors, belts, PSUs). Repeated incoming failures accumulate in the supplier record and trigger a sourcing review before the problem hits the floor.
In-Process Verifications
Every station, every unit: no sampling once the unit is on the cells — each checkpoint applies to the unit in hand, with the go/no-go fixtures and record of the operator. Trend data accumulates from those same records.
FQC Final Audit
Final audit checks the record against the batch and the packaging against the packing list; a mismatch holds the lot until it is resolved. Batch records are retained with the shipment documentation.
Defect Management
Classification and Corrective Action
Not all defects are equal. Our classification system ensures critical issues are escalated immediately while minor cosmetic observations follow standard rework paths.
Safety hazard or complete functional failure: exposed wiring, power-supply overvoltage, thermal runaway, missing grounding. Immediate line stop and containment of the batch — root cause before the line restarts.
Functional degradation or reliability risk: dimensional accuracy out of range, belt tension drift, hotend temperature behavior off specification. Unit quarantined, root cause chased down, and the batch reviewed before release.
Cosmetic or non-functional issues: small surface marks, label alignment offset, panel fit tolerances. Reworked in-line and trend-logged; a rising cosmetic flag gets attention before it becomes a complaint.
8D Corrective Action Process
Team formation and problem statement. The affected stations and the responsible engineers get together to describe what actually happened.
Containment and root cause. Suspect units are quarantined in the record, and the analysis digs from symptom to cause in the process step.
Corrective action and validation. The fix is applied to a pilot batch and checked on subsequent batches before it is accepted.
Prevention and closure. The control plan and work instructions are updated so the same defect does not walk through twice — then the case closes.
All 8D reports are archived and available to distributors under NDA; Class A defect conclusions are shared promptly with the affected partner.
The ROI of Quality
What This Means for Your Bottom Line
Why a Defect Costs You More Than the Refund
A dead-on-arrival unit costs support time, return shipping, replacement logistics, and — most importantly — customer trust. That is why we spend the effort on the bench instead of the field: the test print in every box is the cheapest quality assurance either of us will ever buy.
Warranty Service Your Way
Warranty terms are set in the partner agreement: 12 months on the printer, 3 months on consumables, DOA units replaced without quibble. The support structure — spare parts stock, documented troubleshooting, and a real person who answers — is what makes that promise cheap to keep.
Inspection is part of the process: cells, checkpoints, and the burn-in line share the same floor

Every unit passes power-on and the standardized print test on the burn-in line before packaging