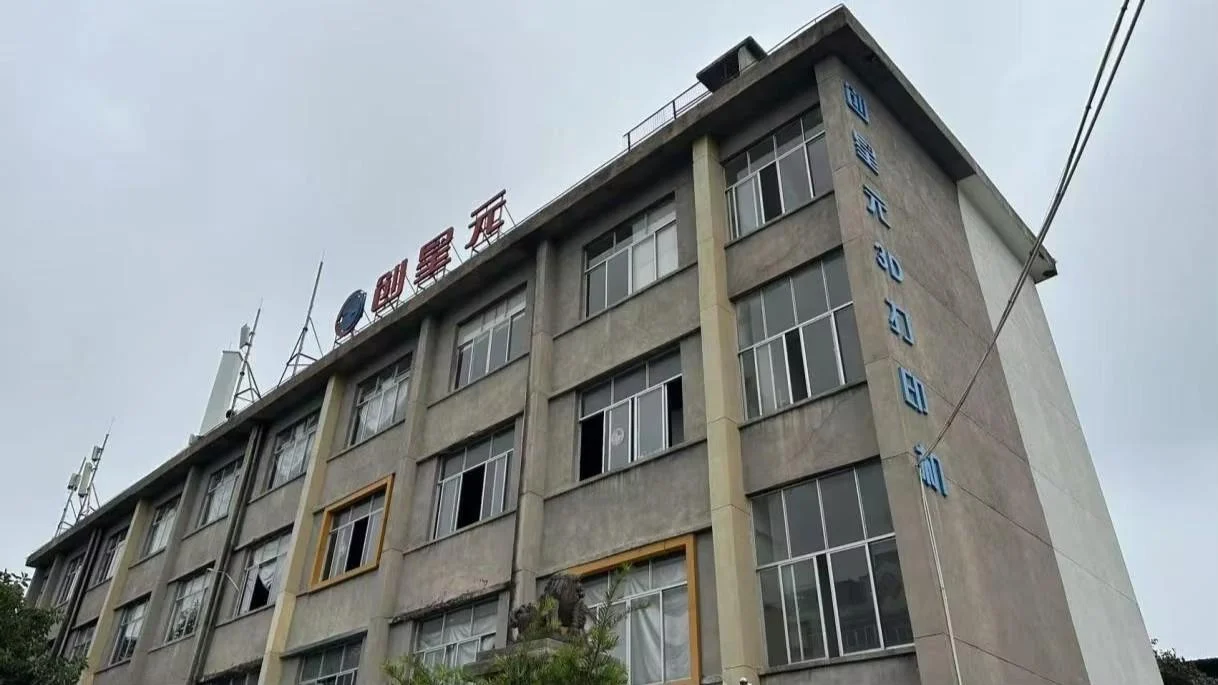

Production network workshop building in Shenzhen

Industries · Engineering & Architecture

Build Before
You Build

Architectural massing models, engineering prototypes, structural visualizations, and terrain/topography models. Large build volumes, consistent dimensional accuracy, and multi-day print reliability for AEC professionals who need physical models that communicate design intent.

Industry Overview

Why Physical Models Still Matter in a Digital-First Industry

Architecture and engineering have been transformed by digital tools -- BIM, parametric design, generative algorithms, VR walkthroughs. Yet the physical model endures as the most powerful tool for communicating spatial relationships to clients, planning committees, and construction teams who may not read plans fluently. A developer evaluating a mixed-use proposal understands a 1:100 scale model intuitively in a way no rendering can match. A structural engineer explaining a complex steel connection to the fabrication team reaches for a physical prototype. The digital model answers "what will it look like?" The physical model answers "how does it actually work in space?"

The economics of model-making have shifted decisively toward 3D printing. A presentation-quality model from a traditional model maker costs significantly more than the same model printed in-house over a few days of largely unattended printing — and the model can be revised and reprinted for the next client meeting. Firms that prototype designs in-house are no longer limited to one architect's drawing being outsourced; the capability is accessible to any firm willing to invest in the workflow.

Engineers reviewing a printed architectural model in the workshop

Key Applications

How Architects & Engineers Use 3D Printing

Architectural Scale Models

The core AEC use case -- and the one with the most dramatic ROI versus traditional model-making. Print massing models at 1:500 for urban context studies, detailed building models at 1:100 for client presentations and planning committee submissions, and facade detail models at 1:20-1:50 for design review. Multi-part assembly techniques enable models larger than the build volume: a 600mm-wide building model is printed in 3 interlocking sections with alignment pins and adhesive bonding surfaces designed into the CAD model. White PLA provides a clean, professional appearance suitable for presentation without painting.

Engineering Prototypes & Proof-of-Concept

Civil, structural, and mechanical engineers use 3D printing for functional prototypes that communicate design intent to fabricators, contractors, and regulatory reviewers. A structural steel connection detail, printed at 1:5 scale in ABS, lets the erection team understand bolt patterns and weld access before steel arrives on site. A mechanical engineer prototypes a custom HVAC duct transition and tests airflow before ordering sheet-metal fabrication. A civil engineer prints a retaining wall section with drainage channels to demonstrate constructability to the contractor. These are not decorative models -- they are communication and risk-reduction tools.

Terrain & Topography Models

GIS data converted to 3D printable terrain models enable site analysis that flat contour maps cannot convey. A developer evaluating three potential sites can hold physical terrain models and immediately grasp slope, aspect, drainage patterns, and view corridors. Print terrain in color-coded layers: green for buildable slopes (0-15%), yellow for moderate (15-25%), red for steep (>25%). Combine with massing models for proposed buildings to create a comprehensive site context model for community consultation meetings -- far more persuasive than slide-deck renderings alone.

Structural Visualization & Analysis Models

Finite element analysis (FEA) results visualized as physical models help engineers communicate structural behavior to non-engineers. Print a bridge girder with color-coded stress concentrations, a foundation with exaggerated settlement deformation, or a high-rise core with wind-load deflection visible to the naked eye. These models are increasingly required for public consultation on major infrastructure projects, where explaining deflection in millimeters or stress in megapascals loses the audience -- but showing a physical model with visible deformation patterns makes the engineering intuitively understandable.

Workflow Integration

Direct CAD-to-Print Pipeline for AEC Software

The gap between architectural CAD and printable geometry has historically been a barrier. Our pre-configured export presets close that gap for all major AEC platforms.

Revit

Export building geometry as STL directly from Revit's 3D view. Our guide covers: setting export detail level to preserve window mullions, curtain wall grids, and facade articulation; scaling from full-size to model scale during export (1:100, 1:200, 1:500 presets provided); and splitting large models across build-plate-sized tiles with automatic alignment features. For BIM models with excessive interior detail, we provide a view-template-based workflow that exports only the building envelope, roofscape, and site context.

Rhino + Grasshopper

Rhino is the de facto standard for complex geometry in architecture, and its mesh-to-STL export is native. Our Grasshopper definition automates: slicing large models into build-plate-sized tiles, generating alignment pins and registration features on each tile, adding a base plate with project name and scale embossed, and producing a build-plate layout diagram so the technician knows exactly how pieces assemble. For parametric designs with hundreds of unique facade panels, we provide a batch-export workflow that tiles and labels each panel automatically.

SketchUp

The most widely used tool for early-stage massing studies. Our SketchUp extension exports watertight STL geometry with one click, automatically healing non-manifold edges and filling holes that would cause slicer errors. Pre-configured scale templates (1:500 massing, 1:200 schematic, 1:100 detailed) apply the correct wall thickness for structural printability. Extension installer and user guide included in the AEC documentation package.

Recommended Products

AEC-Optimized Hardware

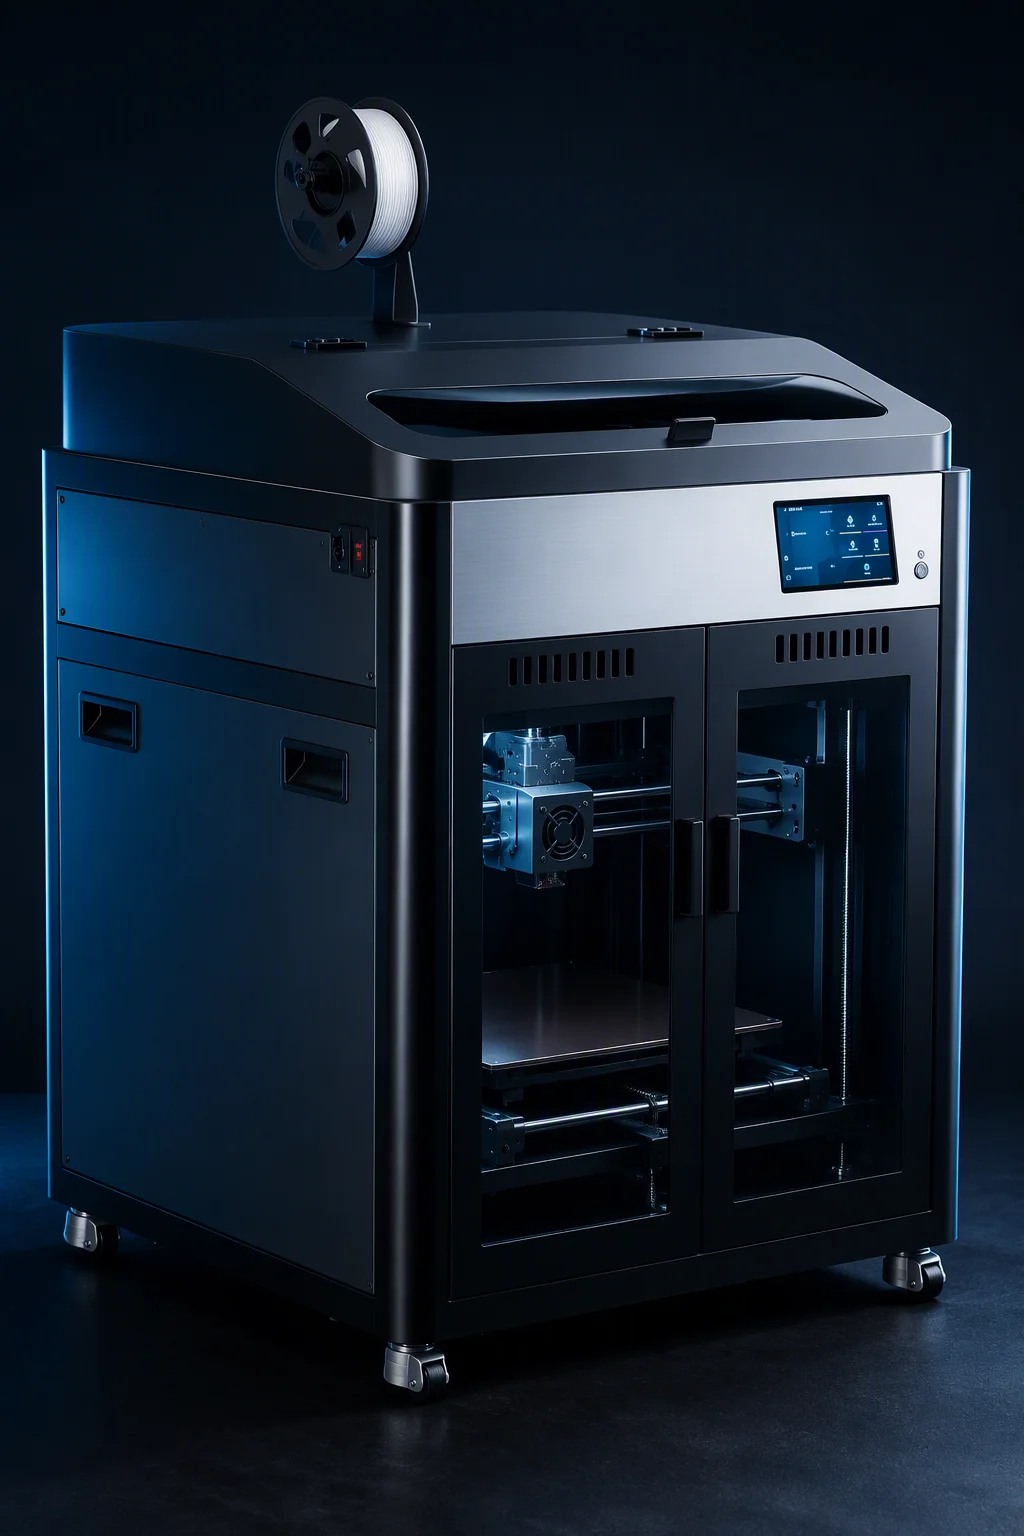
Pro X1 large-format 3D printer for architectural models
AEC Edition

Pro X1 Architecture

Configured for architectural model production. Ships with 0.4mm and 0.6mm nozzles (fast for massing models, fine for detail models), pre-tuned profiles for white PLA, and the complete AEC software export guide bundle. The 500×500×500mm build volume enables 1:100 building models up to 50m tall in a single print. Enclosed chamber prevents warping on large flat prints.

  • Build Volume 500×500×500mm
  • Max Print Speed 600 mm/s
  • Nozzle Options 0.4mm (0.6–0.8mm options)
  • Print Reliability Multi-day continuous runs
Request AEC Quote
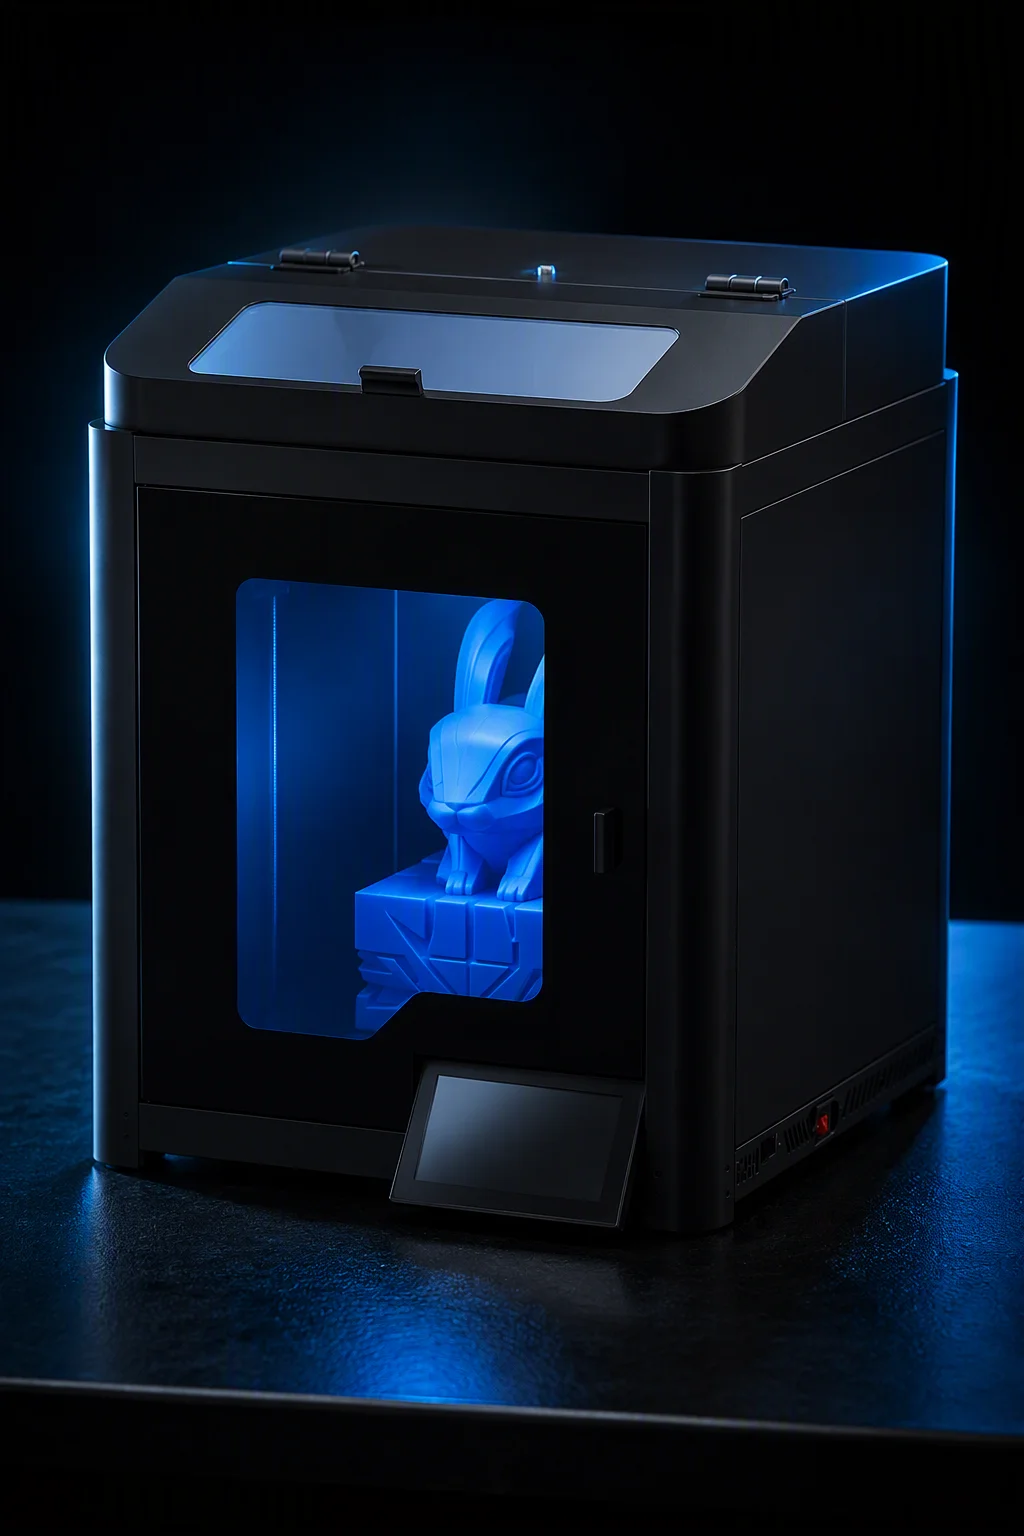
Creator C1 supplementary AEC printer for smaller models
Studio Edition

Creator C1 AEC Studio

The ideal secondary printer for smaller firms or supplementary capacity in larger model shops. Handles detail components (facade panels, site furniture, landscape elements) while the Pro X1 runs large massing models. Silent operation suitable for open-plan architecture studios. Wi-Fi connectivity enables print job submission from any workstation in the office.

  • Build Volume 330×330×400mm
  • Max Speed 700 mm/s
  • Enclosure Full — enclosed
  • Connectivity USB, LAN, Wi-Fi (Klipper)
Request Studio Quote

Large-Format Strategy

Printing Beyond the Build Volume: Multi-Part Assembly

No desktop 3D printer can produce a 1:100 scale model of a 40-story tower in a single print — but with well-designed multi-part assembly, the effective build volume is unlimited. Our documented assembly methodology walks through the entire process: parts sized to the build plate, alignment features modeled into geometry, and a job-planning workflow — enabling presentation models far larger than any single print.

Parting Strategy

A decision framework for where to split models: along natural joints (expansion joints, wing separations, podium/tower interface), avoiding splits through windows or facade features. Our Rhino/Grasshopper script automates the splitting and generates alignment features.

Alignment System

Each part prints with 4mm alignment pins and matching sockets modeled directly into the geometry. Tolerances are calibrated for a snug friction fit that holds without adhesive during dry assembly, then permanently bonds with cyanoacrylate. No visible seam when assembled correctly.

Assembly Documentation

The Grasshopper definition also generates an exploded assembly diagram (DXF or PDF) showing part numbers, orientation, and assembly sequence. The model technician follows it like a build manual — each part has a number embossed on its underside that matches the diagram.

Production Scheduling

For multi-day model production across multiple printers, the fleet management dashboard shows estimated completion time per part, so the model shop can sequence prints for maximum throughput — and know exactly when each model is ready for assembly.

Pro X1 printing the parts that go into a multi-part presentation model

Materials & Finishes

Professional Presentation Quality

White PLA — The Standard

Clean, bright, matte finish. No painting required for most presentation models. 14 color options available (white, gray, black, beige, wood-tone, transparent, and accent colors for context elements). Matte finish reduces glare under presentation lighting. Accepts acrylic paint if color customization is desired -- primer not required.

Multi-Color Context Models

Print the proposed building in white, existing context buildings in gray, landscape in green, water features in blue, and circulation paths in a contrasting color. Multi-color printing with manual filament changes at layer boundaries (M600 command) enables 4-6 color models without a multi-material upgrade. Our slicer profiles include pre-configured color-change layers for common model conventions.

Post-Processing for Presentation

For competition-grade presentation models, we document optional finishing techniques: vapor smoothing for a satin surface finish, filler-primer and sanding for a perfectly smooth paintable surface (3-step process: 120-240-400 grit), and clear-coat options for protection during transport. An architecture-model-specific post-processing guide covers these techniques with product recommendations and estimated per-model finishing time.

Print Reliability

Engineered for Multi-Day Unattended Operation

A 1:100 scale detailed building model can take 40-60 hours to print. A print failure at hour 38 means starting over -- lost time, wasted material, and a missed deadline. Our printers are engineered specifically to prevent this scenario.

Power-Loss Recovery

The single most important feature for architectural printing. A power interruption during a 50-hour print does not scrap the job. The printer detects voltage drop, saves position to non-volatile memory, and upon power restoration homes all axes, reheats, and resumes from the exact interrupted layer. Thermal runaway protection provides a second layer of safety -- if the temperature sensor reports abnormal values, the printer shuts down the heater circuits.

Filament Management

A 50-hour architectural model at 15% infill consumes approximately 600-800g of filament. Our filament run-out sensor detects depletion just before the spool ends, pauses the print, retracts slightly, and parks the toolhead. The operator receives a notification (on-screen, via Wi-Fi to the fleet dashboard, and optional email/SMS). After loading a new spool, the printer purges and resumes. This enables multi-spool continuous prints without operator presence at the exact moment of filament depletion. The sensor is optical (not mechanical), so it detects transparent and dark filaments equally reliably.

Thermal Stability

Large flat architectural prints are particularly susceptible to warping -- as upper layers cool and contract, they can pull the print off the build plate. Our fully enclosed, passively heated chamber maintains a stable ambient temperature of 35-45°C during printing (depending on bed temperature). Combined with a PEI-coated spring steel build plate (heated to 60°C for PLA), this eliminates warping on prints up to the full 300×300mm footprint. For materials with higher warp tendency (ABS, ASA), the chamber temperature can be actively managed with the bed heater as the primary heat source.

AEC Partnership

Equip the Architecture Firms & Engineering Consultancies in Your Region

Distributors: we provide sample architectural models, CAD export workflow guides for Revit/Rhino/SketchUp, multi-part assembly documentation, and demo models for trade shows and client presentations. Whether your customer is a 5-person design studio or a 500-person multi-disciplinary engineering firm, we support your sales cycle with the AEC-specific documentation and sample output that professional model-makers and architects evaluate before purchasing.