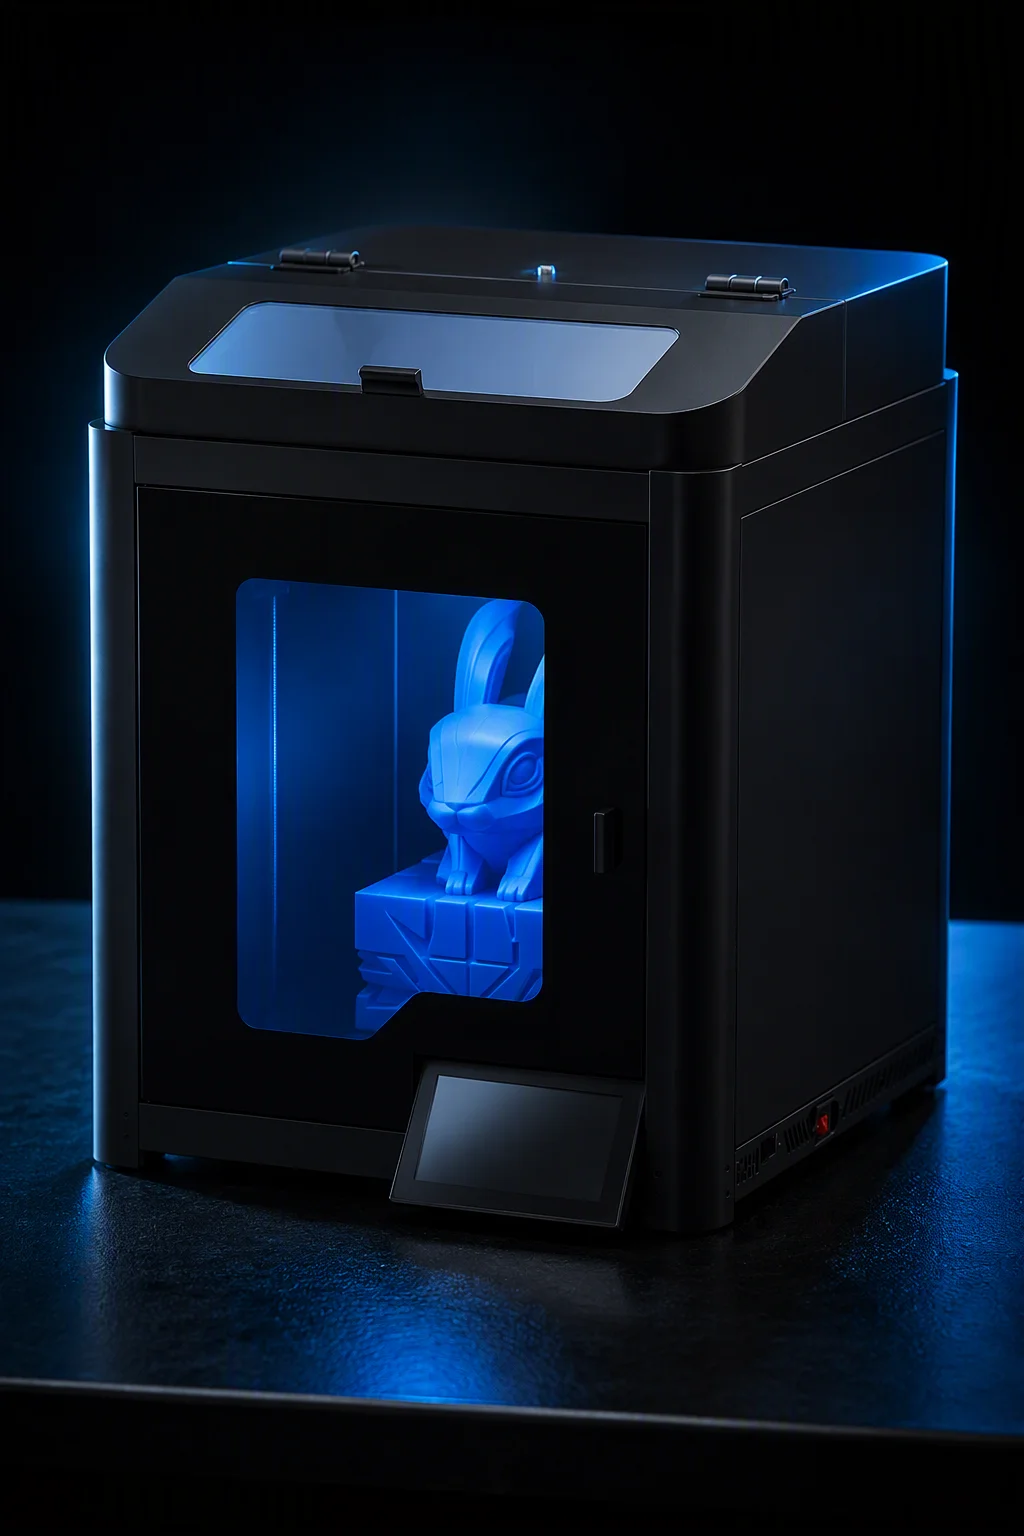
Design Guides
Design Parts That
Print Perfectly
Everything your customers need to know about designing for 3D printing. File formats, wall thickness, overhangs, tolerances, and material-specific recommendations — all in one place.
File Formats
Recommended File Types for 3D Printing
Choosing the right file format ensures accurate geometry transfer from CAD to slicer. Each format has strengths for different workflows.
STL
Industry standard for 3D printing. Triangle mesh format supported by all slicers. Export at high resolution: chordal tolerance at most 0.01mm, angular tolerance at most 1 degree for smooth curves. Binary STL preferred over ASCII for smaller file sizes.
3MF
Modern XML-based format that preserves model hierarchy, materials, colors, and metadata. Smaller file sizes than STL. Supported by PrusaSlicer, Cura, and Bambu Studio. Recommended for multi-material and multi-color designs.
STEP / IGES
Parametric formats preserving exact geometry without tessellation. Preferred for mechanical assemblies and engineering parts. Convert to STL with fine settings for printing. STEP (AP 242) is the modern standard over IGES.
Design Rules
DFM for FDM 3D Printing
Follow these design guidelines to ensure your parts print successfully on the first attempt. Based on 0.4mm nozzle — the standard for Precise3D printers.
| Design Element | Recommendation | Notes |
|---|---|---|
| Minimum Wall Thickness | at least 0.8mm (0.4mm nozzle) | 2x nozzle diameter minimum. For structural parts, use at least 1.2mm. |
| Unsupported Overhangs | at most 45 degrees from vertical | Beyond 45 degrees requires supports. 60+ degrees strongly needs supports. |
| Bridging | at most 50mm span | Longer bridges may sag. Active cooling fan essential. Verify with bridging calibration print. |
| Hole Diameter (Horizontal) | Drill after printing for precision | FDM holes print approx. 0.1-0.2mm undersized. Design 0.2mm oversize or post-drill. |
| Clearance (Moving Parts) | 0.3-0.5mm gap | For print-in-place mechanisms. Depends on calibration and material shrinkage. |
| First Layer | 0.2mm height, 105-110% extrusion | Slower speed (20-30mm/s) for adhesion. Clean bed surface essential. |
| Corner Fillets | Radius at least 2mm recommended | Sharp corners concentrate stress. Fillets improve strength and printability. |
| Embossed / Engraved Text | at least 4mm height, 0.5mm depth | Top-surface text prints clearest. Avoid text on vertical walls. |
Parameters
Material-Specific Print Recommendations
Each polymer family requires specific temperature ranges, speeds, and environmental conditions. These are our tested, validated starting points.
PLA / PLA+
Nozzle: 200-220°C | Bed: 50-60°C
Speed: 60-80mm/s | Cooling: 100% fan
No enclosure needed. Best for decorative parts, prototypes, and consumer products. Low warping, easy to print. PLA+ offers improved impact resistance over standard PLA.
PETG
Nozzle: 230-250°C | Bed: 70-85°C
Speed: 40-60mm/s | Cooling: 30-50% fan
Partial enclosure recommended. Stronger than PLA with more flex. Good chemical resistance. Slight stringing is normal — tune retraction settings.
ABS / ASA
Nozzle: 240-260°C | Bed: 100-110°C
Speed: 40-60mm/s | Cooling: 0-20% fan
Full enclosure required. Warp-prone — use brim or enclosure preheat. ASA is the UV-resistant outdoor variant. Ensure ventilation for fumes.
TPU (Flexible)
Nozzle: 220-240°C | Bed: 40-60°C
Speed: 20-30mm/s | Cooling: 50% fan
Direct drive extruder required. Disable retraction or use minimal (1-2mm). Dry filament before printing. Shore hardness 95A recommended for most applications.
Nylon (PA)
Nozzle: 250-270°C | Bed: 80-100°C
Speed: 30-50mm/s | Cooling: 0-30% fan
Enclosure required. Must be dried at 70°C for 6-12 hours before printing. Use glue stick or garolite bed surface. Strong and durable, but highly hygroscopic.
Polycarbonate (PC)
Nozzle: 270-300°C | Bed: 100-110°C
Speed: 30-40mm/s | Cooling: 0-20% fan
Full enclosure at 50°C+ required. All-metal hotend mandatory. Extreme strength and heat resistance. Filament must be thoroughly dried before printing.
Visual Reference
Material Selection at a Glance
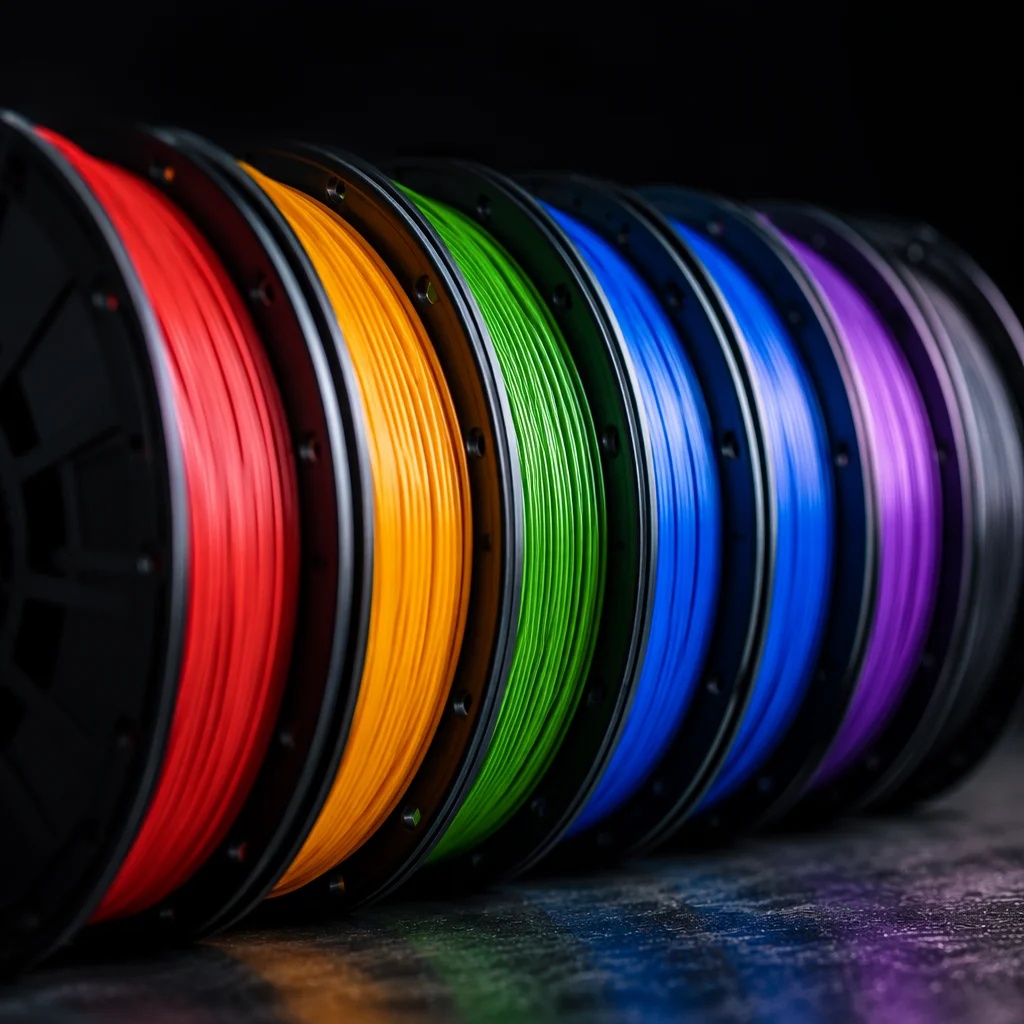
Choosing the right material is half the battle. These reference charts help match polymer properties to application requirements.
Common Mistakes
Design Errors to Avoid
These are the four most frequent issues we see in customer-submitted designs. Avoid them and your first print will succeed.
Paper-Thin Walls
Walls thinner than the nozzle diameter cannot print. Always design walls at 2x the nozzle width as a minimum. A 0.4mm nozzle needs at least 0.8mm wall thickness — thinner walls will not extrude or will be structurally unsound.
Unsupported 90-Degree Overhangs
Horizontal surfaces printed in mid-air will fail — filament drops instead of bonding to the layer below. Add chamfers, split the part into printable sections, or accept support material in your design plan.
Ignoring Layer Adhesion Direction
The Z-axis is the weakest direction in FDM printing because layer bonds are weaker than continuous extrusion. Orient parts so mechanical loads act across layers (XY plane), not along them (Z direction).
Skipping Filament Drying
Wet filament causes stringing, popping sounds during extrusion, and weak layer adhesion. Nylon, PETG, and PC are especially hygroscopic. Dry filament at the recommended temperature before every print session.
Pro Tips
Design Best Practices
Advanced techniques that experienced designers use to get professional results from FDM printers.
Adaptive Layer Height
Use variable layer heights: fine (0.08-0.12mm) for curved top surfaces and detailed areas, coarse (0.2-0.28mm) for straight vertical walls. This cuts print time by 30-40% while preserving surface quality where it matters.
Seam Placement Strategy
Position the Z-seam on the sharpest corner or rear face of the model. Use "Aligned" seam for straight edges or "Random" for organic shapes. Modern slicers can paint seams onto specific surfaces for cosmetic control.
Infill Optimization
15% gyroid infill is the sweet spot for most decorative parts. Structural parts need 30-50% with grid or cubic pattern. Top layers need at least 4 solid layers at 0.2mm height for a smooth finish without pillowing.